Guide Spacing is usually supplied by the manufacturer. If not supplied with the blank you can find this on line at the manufacturer’s site. If not, I recommend just looking up a similar blank i.e. same length, line weight, and action, and using that recommended spacing. Several rod building supply companies supply guide spacing recommendations. Hook and Hackle even has it in their catalog. Mark this spacing on the blank. One way to do this is to wrap masking tape around the blank at each spacing and mark it. Or just put the top of the tape wrap at the location where the bottom of the lower guide foot should go.

Wrapping the Guides
There are several pieces of equipment on the market that will help with the wrapping of the guides. I have always done this manually. I will explain this manual method.

Gather together a cup and a couple of books. Place the bobbin of thread in the cup and run the thread on top of one of the books. Place some of the books on top of the thread on top of the first book according to desired tension. This can be adjusted as you start wrapping. If you would like more tension add another book. If you would like less, remove a book. How much tension is correct? Good question. A little bit of tension so that it keeps the thread tight is good. Too much tension where it is hard to pull through the thread would be too much tension and could with time, damage the blank or cause the rod to be stiff in that location.
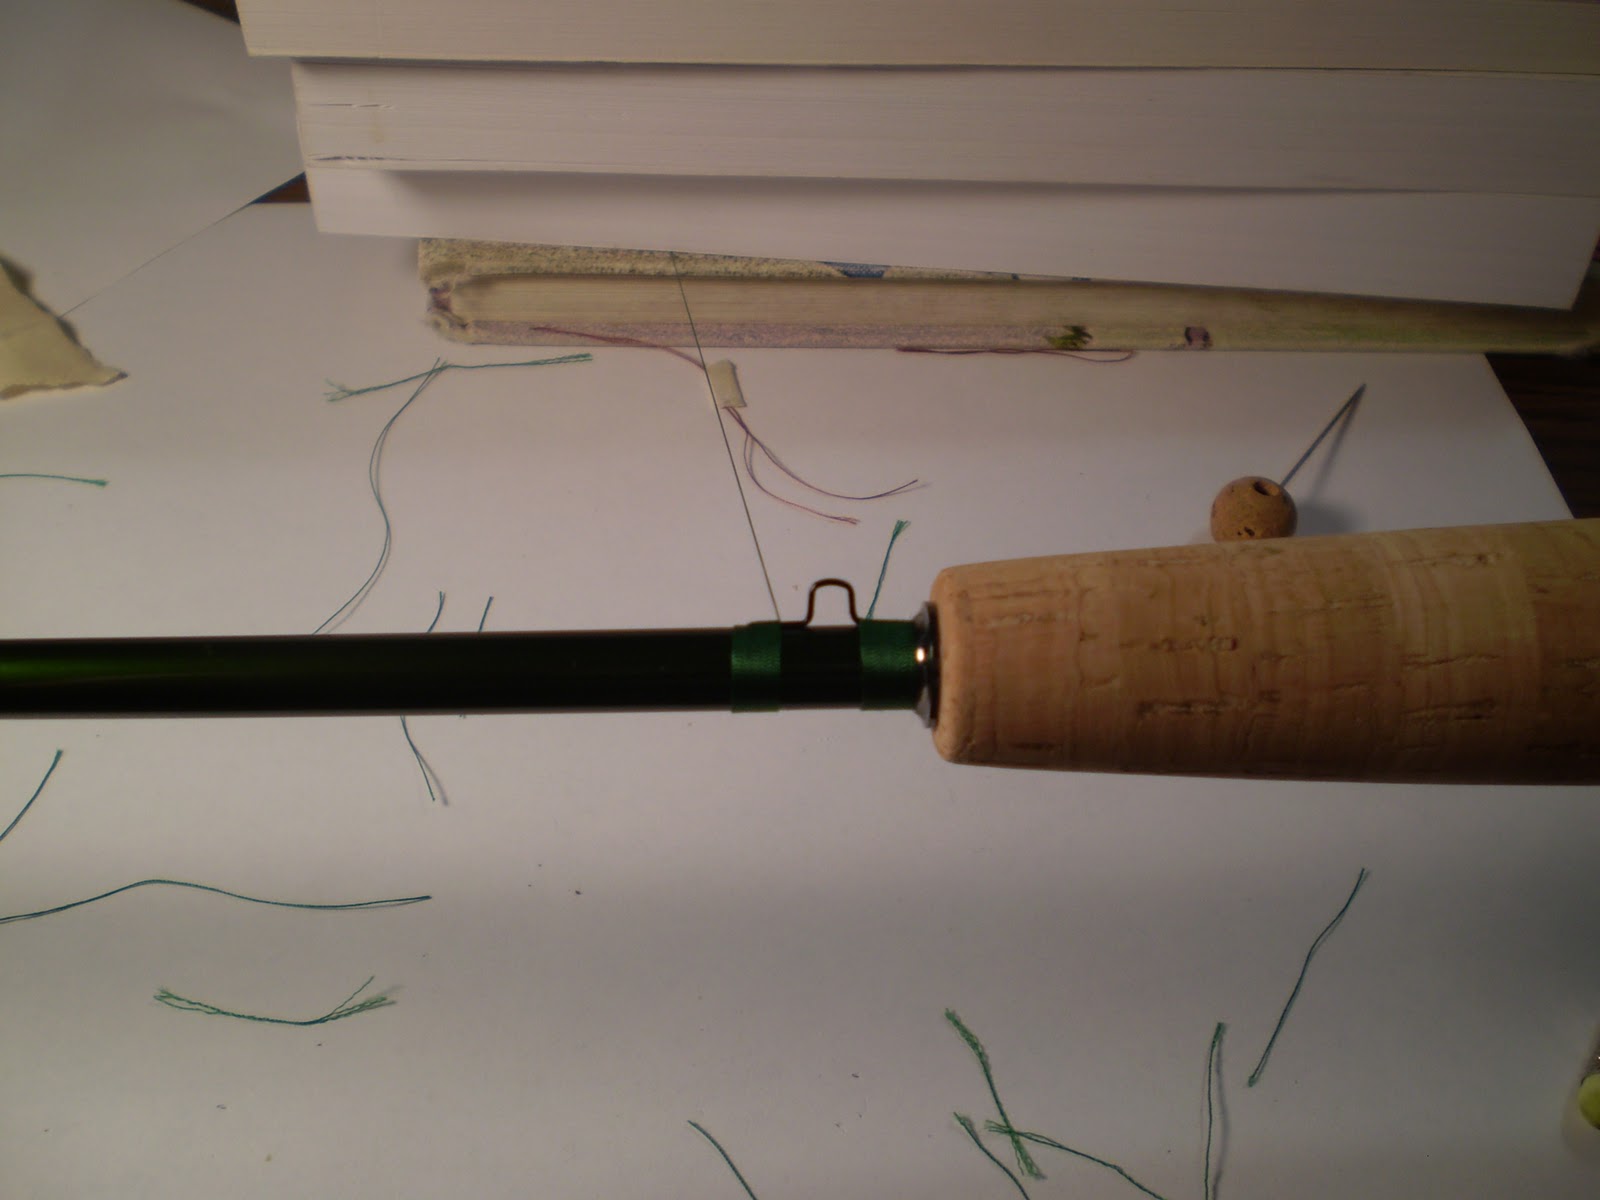
Always wrap from the rod blank toward the guide. Start with one wrap. Purposely cross the thread over the first wrap in the direction toward the guide. Keep wrapping toward the guide and over the tag end of the thread. Go ahead and pinch the wrap against the blank as needed at first so the thread doesn’t just slip around with each revolution. After 5 to 9 wraps, cut the tag end thread close to the wraps. A razor blade works real well for this. Keep wrapping so the tag end is covered and hidden by the wraps. When the wraps are within about ¼ inch or 5 to 9 wraps from the place you will stop wrapping, place a loop of thread along the blank and wraps and wrap over it leaving the loop end in the direction you are wrapping. Once you have wrapped up to the end of the foot where it starts bending up, pinch the thread so it won’t unravel when you let go. Cut the thread leaving a 2 or 3 inch tag. Thread the thread through the loop you prepared. Pull the loop back under the wraps bringing the 2 or 3 inch tag through with it. With you fingernails, gently move the wraps where the tag end got pulled through slightly away. Cut the tag end as close to the blank as possible. Move with your fingernail whatever tag end is left to the side and then push the thread wrapping over the tag end closing the gap. This should hide the tag completely. As a last resort, if there is still a little tag left sticking out, put it near a flame and it will burn off. Be careful though, just bring the wraps close enough to the flame to singe the tag, not to burn the wraps or even worse, the blank. As a second last resort, if there is still a little tag end left when you put the finishing epoxy on the wraps, you can cut it off with a razor blade after the epoxy is dry. Then put a thin second coat of epoxy on over the wraps.

After wrapping a few guides it will become much easier and you will get the hang of it. You may even come up with some better ideas on what will make this process easier and better.
The Disappearing Thread Trick
Another way of finishing off a wrap is to cut the thread short enough just before you pull it through so it still is pulled under a few wraps of thread but not long enough to pull out the gap where the loop is pulled out. I will have to perfect this technique on my next rod.

The Tip Top
The tip of the rod is glued on with ferrule cement. It is a glue stick that is specifically made for rod and arrow tips. It is made so that with heat it will become liquid and you can easily use it to glue on the rod tip. Melt the glue with a flame. Place some of the melted material onto the tip of the rod and quickly twist the tip onto the glue on the blank. After rotating and pushing the tip on as far as it will go, twist it so that it lines up with the guides or the mark you made indicating the spine. Keep in mind this has to be done quickly enough that the glue will not set up before you are finished with the tip aligned properly. Wipe off the excess glue. Double check the alignment. Any remaining glue can be scratched off with your fingernail after it dries. Place a few wraps of thread on the blank right next to the tip if desired to make it look pretty.

Applying the finish
The finish is actually flexible epoxy. It is similar to the epoxy that was used to glue the reel seat and handle to the blank, only flexible when dried and also has a longer dry time. It is mixed and prepared the same way.
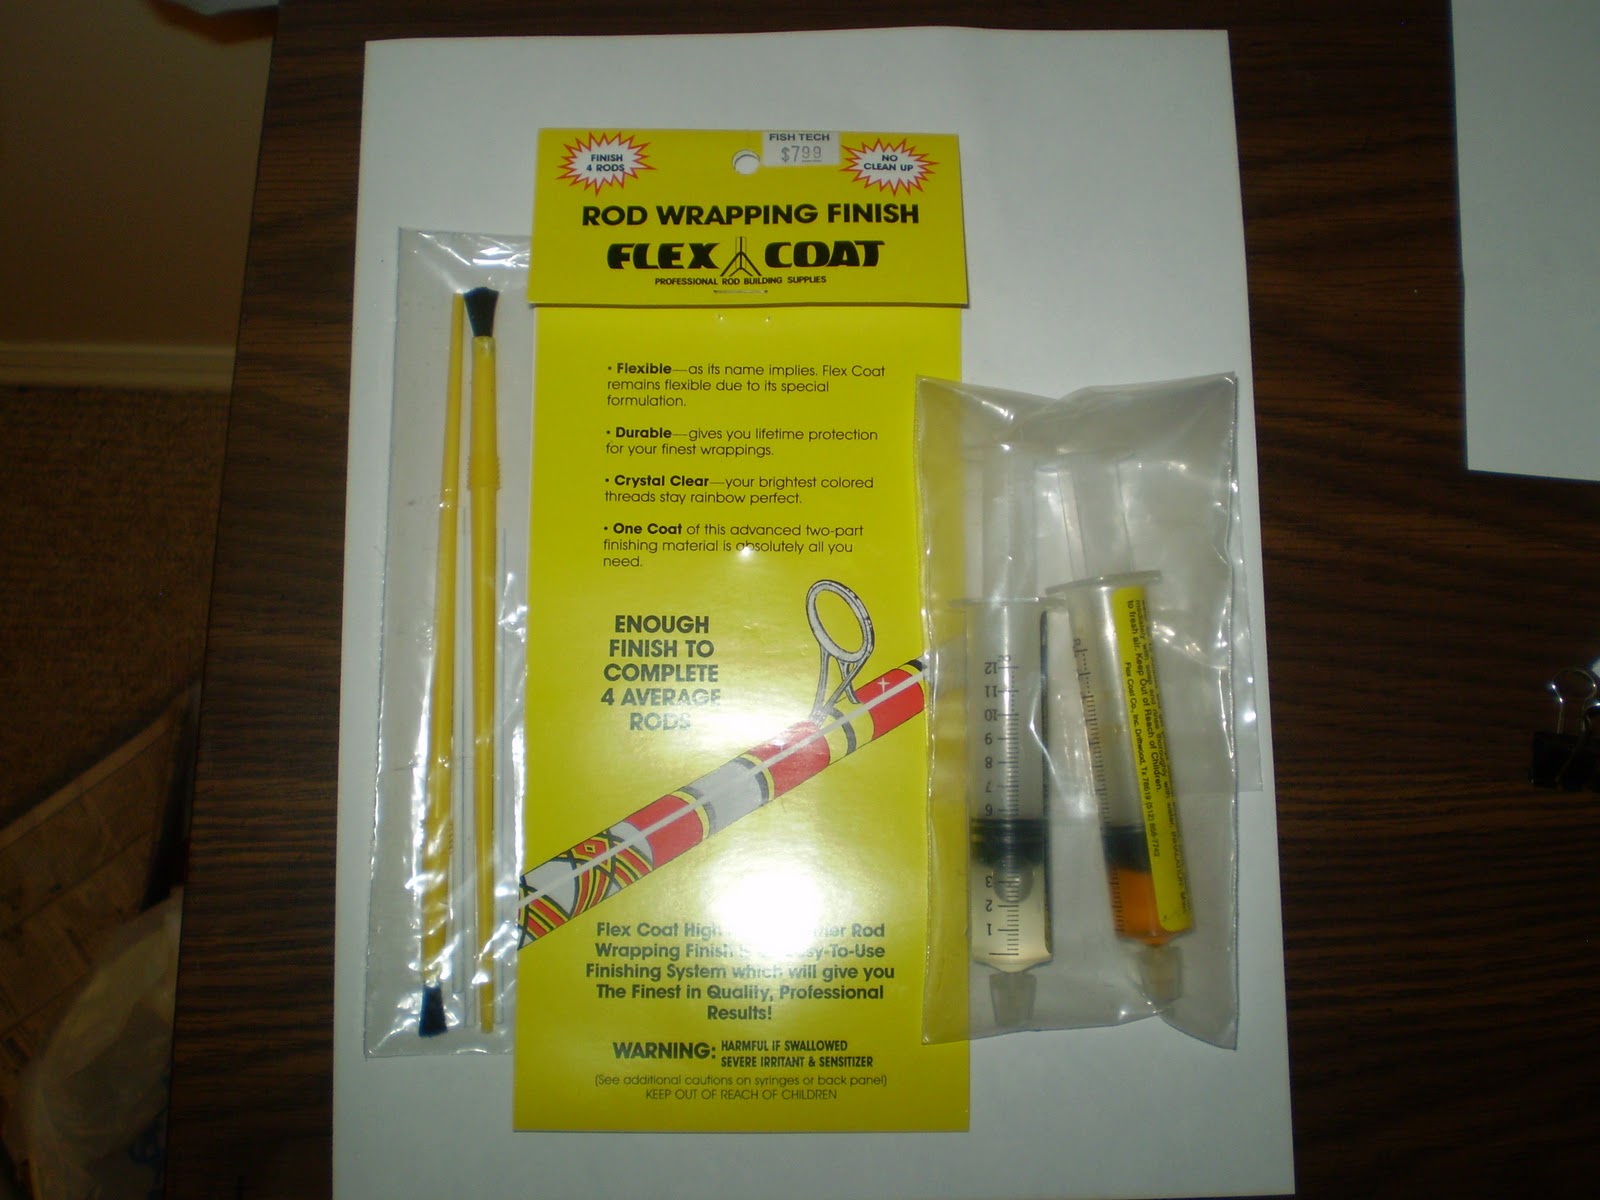
Attach the blank to the rotator just prior to applying the epoxy finish and apply as the rod rotates. I use a small paint brush to apply this epoxy finish. Use as little epoxy as possible but still enough to cover the thread completely and not show any of the threads texture. Go ahead and let this rotate overnight to dry. If you don’t have a rotator, rotate the rod manually until the epoxy does not sag. I did my first rod this way and it turned out perfect. I rotated it every few seconds for the first half hour and then gradually backed off on rotations to every couple of minutes and then every 5 to 10 minutes after that until I wasn’t worried that the epoxy would sag.


wow that's really cool!
ReplyDeletei see you have been summoned to the basement to make these :)
do you know who your new follower is? gofisch? a fishing buddy of yours or just someone who likes fishing blogs?
ReplyDeleteSomeone who likes fly fishing. It's great getting another follower. I hope I'm not boring anyone this winter with rod building, knots and exercises rather than my usual fishing stories. The winter hasn't been a fishing winter, so I do my best to keep thinking about fishing.
ReplyDeleteO interesting- that's pretty cool
ReplyDelete